
Replacing your pool liner is a great way to extend the life of your above-ground pool and refresh its appearance. If you’re tackling a J-hook liner replacement yourself, this guide from Discount Pools Direct will walk you through every step to get the job done right, no professional installer required.
Choose a sunny day with temperatures above 75°F. Warm weather softens the liner, making it more pliable and much easier to install.
Lay your new J-hook liner flat in direct sunlight. This will help remove folds and make the liner more pliable, making installation easier.
Completely drain all water from the pool. Do not attempt to remove the liner with water still inside—it will be extremely heavy and difficult to handle.
With the old liner out:
Filling a large above-ground pool can take several days. Monitor progress and make adjustments as needed.
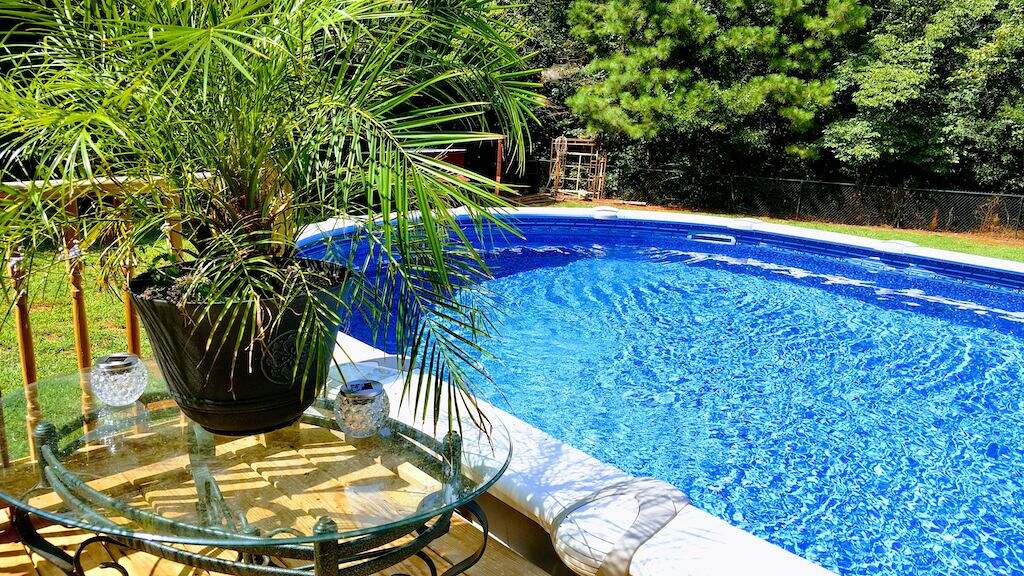
Take your time! Rushing through this process can lead to uneven liner placement or premature wear. With careful prep and patience, you’ll enjoy a smooth, professional-looking result that keeps your pool protected and ready for summer fun.
Wrap up your pool upgrade with ease by shopping our extensive selection of J-hook pool liners at Discount Pools Direct. We offer a complete selection of above-ground pools, durable pool liners, and must-have accessories to help you create the perfect backyard setup. Need help getting started? Call us today at 1-866-974-1164. We proudly serve customers nationwide, from Florida and Georgie to Texas, Pennsylvania, and beyond, and offer flexible financing options to fit your budget. Make your backyard the ultimate summer destination with help from Discount Pools Direct!
*The Promotional Initial Payment (plus any applicable taxes and fees) is due at lease signing. Your lease-purchase payment amount, frequency and total number of payments required for ownership, and total cost will be determined after you select your product(s). You will not acquire ownership of the product(s) if the total amount necessary to acquire ownership is not paid. The Promotional Initial Payment does not reduce the cost of the lease-purchase agreement. This promotion is available only to select customers based on lease repayment risk criteria. The Promotional Initial Payment is only available when shopping at Discount Pools Direct through the Katapult mobile app and at Discount PoolsDirect website from 4/11/25 until 5/31/25. Pricing is subject to change and availability.
Starting at $0 down*